


Decoupaging Fabric with Mint Decoupage Paper:
An Easy and Cost-Effective DIY Guide
Introduction: Decoupage is a versatile and creative technique that allows you to transform ordinary objects into personalized works of art. While it is commonly used on furniture, did you know that you can also decoupage fabric? With Mint Decoupage Paper, you can effortlessly revamp your fabric items, giving them a fresh and unique look. In this blog post, we'll explore the process of decoupaging fabric using Mint Decoupage Paper, highlighting its simplicity, effectiveness, and cost-saving benefits.
-
Understanding the Basics of Fabric Decoupage: Decoupaging fabric is similar to applying decoupage on furniture, but it requires a few adjustments due to fabric's porous nature. Mint Decoupage Paper is specifically designed to tackle this challenge. Its high-quality composition ensures successful adhesion to fabric while maintaining the integrity of the design.
-
Gather Your Materials: Before you start, gather the necessary materials:
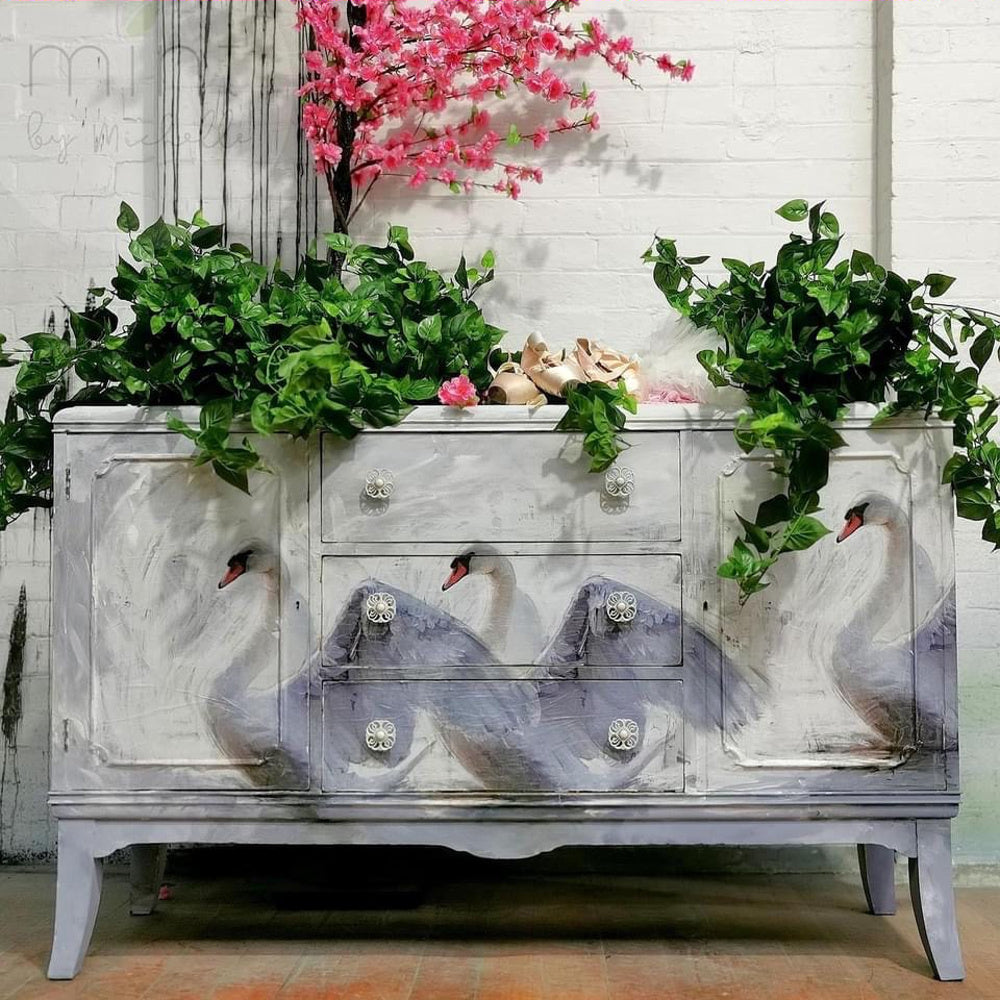
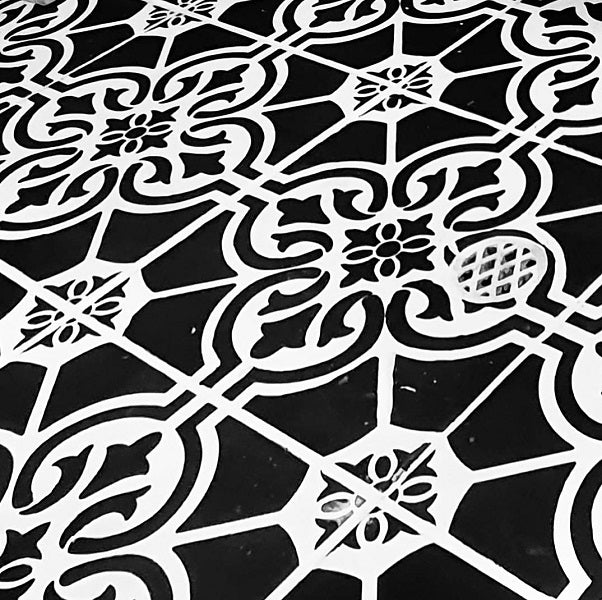
- Mint Decoupage Paper: Browse through the wide range of Mint by Michelle decoupage inserts and choose a design that speaks to your style.
- Fabric item: Consider the type of fabric of the chair (or item). Something that doesn't have too much of a "pile" works best.
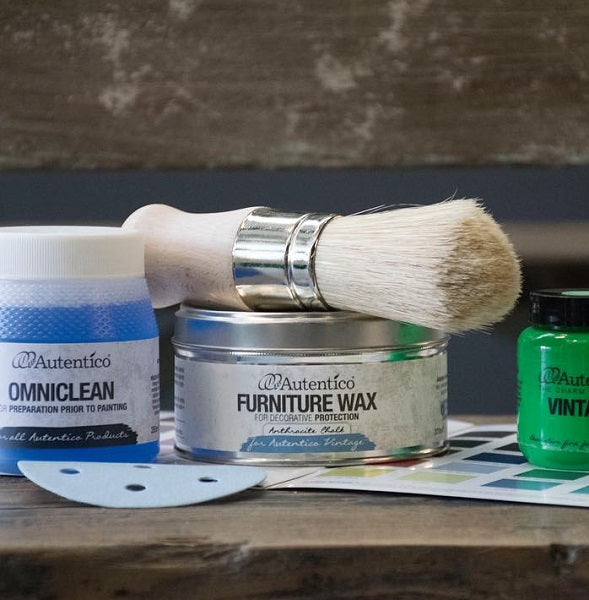
- Image medium: Due to fabric's porosity, you'll need a little extra image medium to compensate. Opt for a fabric-friendly image medium, which helps the decoupage paper adhere securely to the fabric surface. The Annie Sloan image medium is perfect and you can find it on the Mint website.
- Paintbrushes: Choose a flat brush for applying the image medium and a smaller one for touch-ups.
- Scissors: Have a pair of sharp scissors to cut out the decoupage paper designs (if desired).
-
Prepare the Fabric Surface: Clean the fabric item thoroughly and ensure it is free of dust, dirt, and any other particles. Paint the fabric using Chalk Paint to give it a nice light colour underneath the paper.
-
Apply the Image Medium: Using a flat brush, apply a thin and even layer of image medium onto the fabric surface. This extra step ensures proper adhesion of the decoupage paper. Take care not to apply too much image medium, as it may cause the paper to wrinkle.
-
Place and Seal the Decoupage Paper: (follow the instructions on the Mint Decoupage Paper inserts) Position the decoupage paper on the fabric, gently pressing it down. Smooth out any air bubbles or wrinkles using cling wrap or a brayer. Once in place, apply another layer of image medium on top of the decoupage paper, carefully sealing the edges. This step protects the paper and ensures a durable finish.
-
Finishing Touches: Allow the decoupage to dry completely, following the instructions provided with the Mint Decoupage Paper. Once dry, inspect the fabric for any loose edges or imperfections. Use a small brush to apply a touch of image medium to secure loose edges and create a seamless look.
-
Enjoy the Results: Congratulations! You've successfully decoupaged fabric using Mint Decoupage Paper. Admire your transformed fabric item and showcase your creativity to friends and family. Whether it's a refreshed cushion, a revamped lampshade, or a stylish tote bag, your decoupaged fabric piece will add a unique touch to your space.
Conclusion: Decoupaging fabric with Mint Decoupage Paper is a delightful and budget-friendly way to breathe new life into your fabric items.